Adding a 3rd party Javascript package
Obsolete page
This page requires updating. You can help by contributing on GitHub.
Note
This recipe assumes that you've already setup your own UserFrosting instance from the Skeleton template and you're familiar with the basics of UserFrosting.
Tip
A complete example of this guide can be found on GitHub : https://github.com/userfrosting/recipe-js-package
This recipe will guide you on how to add a 3rd party javascript package on a default UserFrosting installation. The process is simple, but can be challenging to understand as most 3rd party package won't provides instructions for UserFrosting Webpack setup.
For this example, we will add Dark Reader to the UserFrosting Skeleton. Dark Reader is designed to analyze web pages and generate a dark mode for any website. To enable it, we simply need to load it with the package manager, create a script which will initialize Dark Reader and finally register a new entrypoint.
Adding the dependency
First thing to do is add a new dependency. The important point here is since Dark Reader is a frontend dependency, we won't load it with Composer. Composer is dedicated to PHP, or backend dependencies. Instead, we will use the Node Pacakge Manager, or NPM.
From the command line, run :
$ npm i darkreader --save
This will add the following line to your package.json and load to node_modules :
"dependencies": {
    "@userfrosting/sprinkle-admin": "~5.1.0",
    "@userfrosting/theme-adminlte": "~5.1.0",
    "darkreader": "^4.9.83"
},
Enabling DarkReader
It's not enough to add a dependency, we also need to initialize it. Each dependency will work differently, for our case we simply need to call DarkReader.enable() function.
One big difference with traditional website, each file referenced as a Webpack entry will not be treated as traditional Javascript, but as a Node.js CommonJS module. This is because, by default, Node.js treats JavaScript code as CommonJS modules.
This is important, as a module doesn't work the same a traditional javascript file, also known as browser JavaScript. One big difference between Node.js modules and browser JavaScript is how one script's code is accessed from another script's code.
The difference can be explained as this StackOverflow answer does :
In browser JavaScript, scripts are added via the
<script>element. When they execute, they all have direct access to the global scope, a "shared space" among all scripts. Any script can freely define/modify/remove/call anything on the global scope.
In Node.js, each module has its own scope. A module cannot directly access things defined in another module unless it chooses to expose them. To expose things from a module, they must be assigned to exports or module.exports. For a module to access another module's exports or module.exports, it must use
require().
The require() function is a built-in CommonJS module function supported in Node.js that lets you include modules within your project. We already use it to include the theme-adminlte main module, this time we'll use it to include the Dark Reader main module.
In the default app.js main entry point, add the following code at the bottom :
app/assets/app.js
// ------ Import Base Theme ------
require('@userfrosting/theme-adminlte');

// ------ Custom Code ------
// Add you own code below
const DarkReader = require('darkreader/darkreader');
DarkReader.enable();
Since we changed a JavaScript file, we need to rebuilt the assets :
$ php bakery assets:build
Refresh the page, and you should see the default page in a beautiful dark mode !
Creating our own module
Right now, the code is directly in the main entry point. While it works for now, as your code grows, it will be more difficult to maintain. By moving your custom code to a dedicated module, it also help with separation of concerns. Each task in it's own module !
For this example, let's move the code previously added to app/assets/app.js to a new app/assets/darkreader.js file.
app/assets/darkreader.js
const DarkReader = require('darkreader/darkreader');
DarkReader.enable();
Meanwhile, we'll import this new file in app/assets/app.js so it's included by default for all pages.
app/assets/app.js
// ------ Import Base Theme ------
require('@userfrosting/theme-adminlte');

// ------ Custom Code ------
// Add you own code below
// const DarkReader = require('darkreader/darkreader');
// DarkReader.enable();
require('./darkreader.js')
Again, since we changed a JavaScript file, we need to rebuilt the assets :
$ php bakery assets:build
Refresh the page, the dark mode should still be applied.
Adding a toggle
At this point, Dark Reader will be enabled by default on every page. Wouldn't it be nice to have a toggle button for it?
First order of business, we need to add the toggle button to the navbars. Yes, plurals. UserFrosting default theme has a dedicated navbar for the dashboard layout as well as the standard layout!
For the standard layout, we need to add our custom navbar element in the main-nav from the AdminLTE Theme, using the secondary_nav block. Create a new app/templates/navigation/main-nav.html.twig file and copy the following code to it.
app/templates/navigation/main-nav.html.twig
{% extends '@adminlte-theme/navigation/main-nav.html.twig' %}

{% block secondary_nav %}
<li>
    <a href="#" class="nav-highlight darkmode-btn"><i class="fa-regular fa-lightbulb"></i></a>
</li>
{{ parent() }}
{% endblock %}
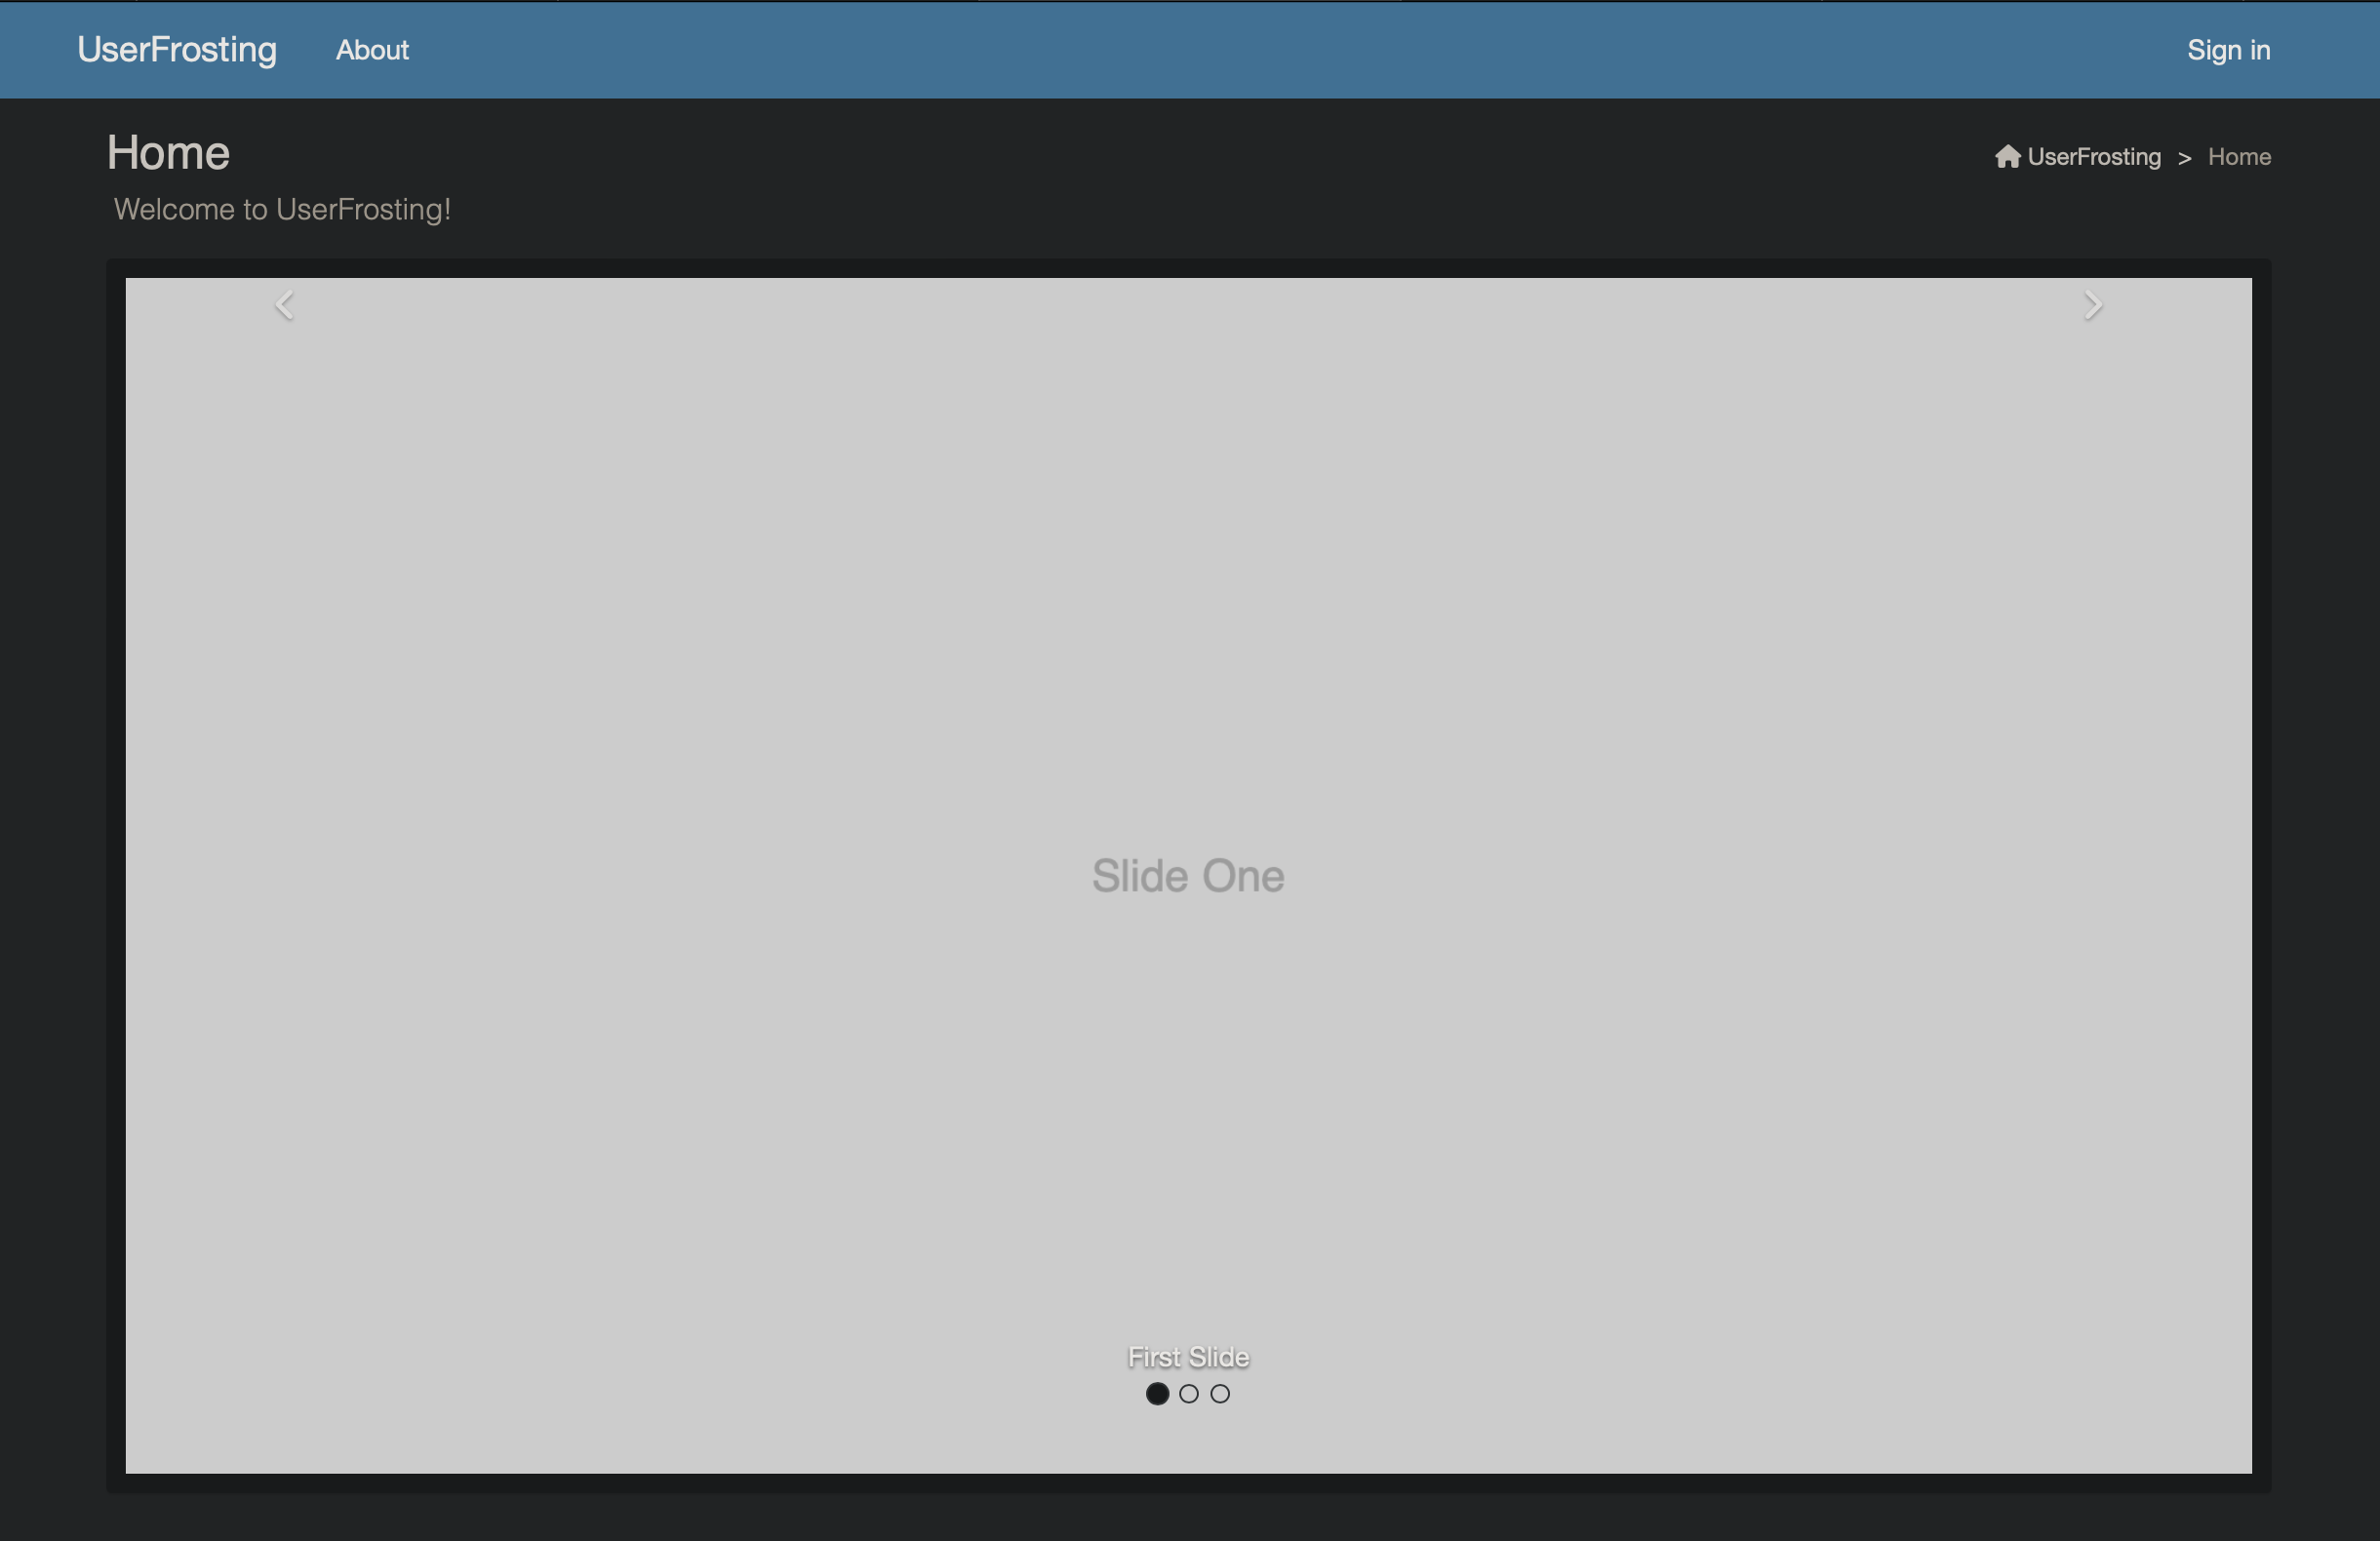
[center]
 [size=14]The lightbulb icon is added in the standard layout[/size]
[/center]
[size=14]The lightbulb icon is added in the standard layout[/size]
[/center]
For the dashboard layout, we need to add our custom navbar element in the navbar from the Admin Sprinkle, using the dashboard_navbar_extra block. Create a new app/templates/navigation/navbar.html.twig file and copy the following code to it.
app/templates/navigation/navbar.html.twig
{% extends '@admin-sprinkle/navigation/navbar.html.twig' %}

{% block dashboard_navbar_extra %}
<li>
    <a href="#" class="nav-highlight darkmode-btn"><i class="fa-regular fa-lightbulb"></i></a>
</li>
{% endblock %}
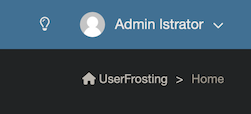
[center]
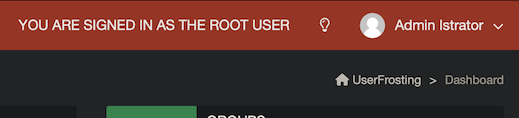 [size=14]The lightbulb icon now is added in the dashboard layout[/size]
[/center]
[size=14]The lightbulb icon now is added in the dashboard layout[/size]
[/center]
Right now, our button doesn't do anything. Let's change this by adding some JavaScript to our module. This code will set an 'on click' listener on the button mapped to a toggle function. We will also use local storage to remember the state on page reload.
app/assets/darkreader.js
const DarkReader = require('darkreader/darkreader');

// Function used to toggle the state
function toggleDarkMode() {
    if (DarkReader.isEnabled()) {
        DarkReader.disable();
        localStorage.setItem('UF-DarkMode-enabled', false);
    } else {
        DarkReader.enable();
        localStorage.setItem('UF-DarkMode-enabled', true);
    }
}

// Init when document is ready
$(function() {
    // Init event listener for button
    $('.darkmode-btn').on( "click", function() {
        toggleDarkMode();
    });

    // Set initial state as saved in local storage
    const enabled = localStorage.getItem('UF-DarkMode-enabled');
    if (enabled === "true") { DarkReader.enable(); }
});
Once again, we changed JavaScript, so we need to rebuild the assets.
$ php bakery assets:build
That's it! You now have a new button in the navbar to toggle dark mode on and off, using Dark Reader 3rd party library. To go further, you could try changing the icon based in the status. For example, showing a sun icon when dark mode is disabled. Don't forget to rebuild the assets when doing any changes to the JavaScript code !