Installation
- Environment
- Clone the UserFrosting repository
- Install dependencies
- Set up the database
- Visit your website
- UserFrosting installer
- Star the project and follow us on Twitter
The process of setting up UserFrosting so that you can begin work in your local development environment is known as installation. This is a separate process from deployment, which is when you actually push your fully developed application to a live server. Please be sure that you understand this distinction before proceeding further! UserFrosting is not like, for example, Wordpress, where you can "install" directly to your production server.
Environment
Web stack
If you don't already have a local development environment set up, please do so now.
Make certain that your development environment meets the minimum requirements. In particular, make sure that you have PHP 5.6 or higher installed, as well as a webserver that supports URL rewriting (for example, Apache with mod_rewrite enabled).
Other required software
Please make sure that you have the following installed before attempting to install UserFrosting:
Clone the UserFrosting repository
The best way to initially set up UserFrosting in your local environment is by using git to clone the main UserFrosting repository. Create a new subdirectory in your webserver's document root. For example, in Apache:
$ cd /path/to/htdocs
$ mkdir myUserFrostingProject
htdocs
└── myUserFrostingProject
To clone the repository, simply run:
$ cd myUserFrostingProject
$ git clone https://github.com/userfrosting/UserFrosting.git .
Note the
.at the end of the second command - if you omit it,gitwill try to create another subdirectory insidemyUserFrostingProject!
At this point, you should also change your remotes. Since you are starting your own project at this point, rather than working on changes that would eventually be merged into the main UserFrosting repository on GitHub, we'll give the GitHub remote a different, more meaningful name. First, use git remote -v to see the current remotes:
$ git remote -v
origin	https://github.com/userfrosting/UserFrosting.git (fetch)
origin	https://github.com/userfrosting/UserFrosting.git (push)
This basically means that origin is a shortcut for pushing and pulling to the official UserFrosting repository on GitHub. Let's change that:
$ git remote rm origin
$ git remote add upstream https://github.com/userfrosting/UserFrosting.git
$ git remote -v
upstream	https://github.com/userfrosting/UserFrosting.git (fetch)
upstream	https://github.com/userfrosting/UserFrosting.git (push)
This renames the origin remote to upstream. Let's also disable the push part of this remote (don't worry, you won't have push rights for the official repo anyway, but this will help us stay organized):
$ git remote set-url --push upstream no-pushing
$ git remote -v
upstream	https://github.com/userfrosting/UserFrosting.git (fetch)
upstream	no-pushing (push)
Now, if we were to try and push to upstream for some reason, we'll get a useful error instead of being prompted for credentials.
For future reference (you don't have to do this right now) with the upstream remote set up, you will be able to pull any updates from the official UserFrosting repository into your project:
$ git fetch upstream
$ git checkout master
$ git merge upstream/master
See GitHub's article on syncing a fork for more information.
If you are developing as part of a team, you may wish to set up a new origin remote, for example one that points to a private repo on Bitbucket. When you are ready to deploy, you may also set up yet another deploy remote, which will allow you to push your code directly to the production server. See deployment for more information.
Set up sprinkles.json
The sprinkles.json file tells UserFrosting which Sprinkles to load, and in what order. It is also used by Node to determine which client-side dependencies to download from the Bower repository.
An example sprinkles.json.example file is provided in the app/sprinkles/ directory. To start, simply copy this to a new file, sprinkles.json. The file should look like this:
{
    "base": [
        "account",
        "admin"
    ]
}
To learn more about Sprinkles, see Chapter 2.
Set directory permissions
Make sure that /app/cache, /app/logs, and /app/sessions are writable by your webserver. See File System Permissions for help with this.
Install dependencies
PHP dependencies
Next, we will run Composer in the app subdirectory to fetch and install the PHP packages used by UserFrosting. Before you do this though, you should check which version of PHP will be run in the command line.
Preflight check
It is very common for a single environment to have multiple different versions of PHP installed. If you've never run PHP from the command line before, you may not realize that the version of PHP run by the webserver (Apache, nginx, etc) can be different from the one that would get run in the command line.
To check the "command line" version, use the command:
$ php -v
You should then see a message like:
PHP 5.6.15 (cli) (built: Dec  4 2015 12:52:38)
Copyright (c) 1997-2015 The PHP Group
Zend Engine v2.6.0, Copyright (c) 1998-2015 Zend Technologies
This is the version of PHP which will be used by Composer. Make sure it meets the minimum required version for UserFrosting!
If it's a lower version than the version that you know your webserver uses, then chances are that your terminal is incorrectly resolving the php command. This happens because there is an older version of PHP (often preinstalled with your operating system) in one of the paths specified in your path variable ($PATH in *nix systems, PATH environment variable in Windows).
If you're using a distribution like XAMPP or WAMP, you'll want to update your PATH variable so that your terminal finds the same version of PHP that your webserver uses. This process depends heavily on the distribution you're using and your operating system (Google it!) However, the general steps are:
- Determine the path to the version of PHP that your webserver uses. For example, the XAMPP distribution has PHP installed in its own directory, e.g.
/Applications/XAMPP/xamppfiles/bin/. - Append that path to your
PATHvariable. In*nixsystems, this can be set in your shell config file, for example~/.bash_profile. The command should look something likeexport PATH="/path/to/newer/version/of/php:$PATH". See this answer on Superuser for information on modifyingPATHin your operating system. - Restart your terminal.
- Run the command
which phpto ensure that thephpcommand is now resolving to the correct directory. If not, double-check steps 1-3.
To check the value of your
PATHvariable in *nix environments, simply runecho $PATH.
Running Composer
Once you've got the right version of PHP running from your command line, it's time to run Composer:
$ cd app
$ composer install
This may take some time to complete. If Composer has completed successfully, you should see that a vendor/ directory has been created under app/. This vendor/ directory contains all of UserFrosting's PHP dependencies - there should be nearly 30 subdirectories in here!
If you only see composer and wikimedia subdirectories after running composer install, then you may need to run composer update afterwards.
npm dependencies
The build directory contains the scripts and configuration files required to download Javascript, CSS, and other assets used by UserFrosting.
Before we can run these scripts, we need to install some required npm packages:
$ cd /path/to/myUserFrostingProject/build
$ npm install
This command will install Gulp, Bower, and several other required npm packages.
If this command fails, see npm to ensure npm is correctly installed and updated.
Check that all of your Node dependencies have been successfully installed by looking in the build/node_modules/ directory. You should see lots of subdirectories with names like accord, align-text, amdefine, etc. These are the npm packages used by our asset tools.
You can safely exclude the
node_modulesdirectory from your repository, even if you plan to use git to push your project to production. These packages are only used for environment installation build tasks and are not used by the application itself.
UserFrosting assets
Now that we have npm set up with all of its required packages, we can use it to automatically download and install the assets in the correct directories:
$ cd /path/to/myUserFrostingProject/build
$ npm run uf-assets-install
Some warning can be displayed by this command, but it doesn't means the whole command failed. To make sure it executed properly, you can look for the vendor/ directory inside app/sprinkles/core/assets
That's it! Your project should now have all the required PHP and client-side dependencies that it needs to function.
If this script fails, ensure that git is installed. Additionally, in some operating systems you may need to run this command as an administrator. This is true for most Windows version (right-click your terminal icon and choose "run as administrator" in Windows), but not the case with some *nix platforms where running things as sudo will fail.
Set up the database
You're almost done! To actually make the user part of UserFrosting work, we'll need to set up the database tables and a root user account.
First thing's first, you'll need to create a database and database user account. Consult your database documentation for more details. If you use phpmyadmin or a similar tool, you can create your database and database user through their interface. Otherwise, you can do it via the command line.
"Database user account" and "UserFrosting user account" are not the same thing. The "database user account" is independent of UserFrosting. See your database technology's documentation for information on creating a database user. Make sure that your database user has all read and write permissions for your database.
The basic database settings for UserFrosting can be set through environment variables. By default, UserFrosting looks for the following environment variables:
DB_NAME: The name of the database you just createdDB_USER: The database user accountDB_PASSWORD: The database user password
If you don't want to (or can't) configure environment variables directly in your development environment, UserFrosting uses the fantastic phpdotenv library to let you set these variables in a .env file. Simply copy the sample file in your app/ directory:
$ cp app/.env.example app/.env
Now, you can set values in the .env file and UserFrosting will pick them up as if they were actual environment variables.
You may also want to configure your SMTP server settings as well at this point so that you can use features that require mail, such as password reset and email verification. See Chapter 11 for more information on the mail service.
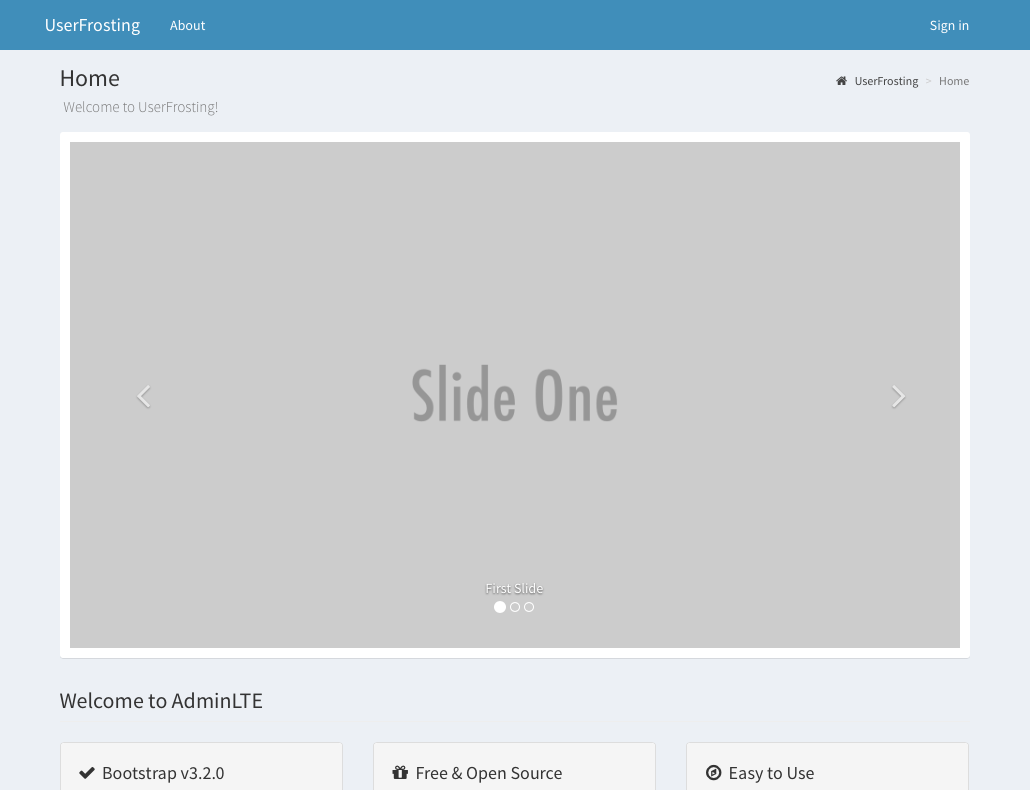
Visit your website
At this point, you should be able to access the basic pages for your application (without a signed-in user). Visit:
http://localhost/myUserFrostingProject/public/
You should see a basic page:
If you encounter an error saying something similar to
The asset 'vendor/font-awesome/css/font-awesome.css' could not be found, something went wrong at the UserFrosting assets step.
UserFrosting installer
To set up the database tables and create your first UserFrosting account, we will run the command-line installer:
$ cd /path/to/myUserFrostingProject/migrations
$ php install.php
You will be prompted to confirm your operating system, after which the tables and some default rows will be created. Next, you will be prompted for some information to set up the master account.
Once this has completed successfully, you can sign in with your root account at http://localhost/myUserFrostingProject/public/account/sign-in.
Star the project and follow us on Twitter
It will help us a lot if you could star the UserFrosting project on GitHub. Just look for the button in the upper right-hand corner!

You should also follow us on Twitter for real-time news and updates:
Congratulations! Now that this is complete, you're ready to start developing your application by creating your first Sprinkle.