Native Installation
- Environment
- Get UserFrosting
- Install PHP dependencies
- Run the installer
- Visit your website
- Changing git remote
- Star the project and follow us on Twitter
If you already have a local environment and you're familiar with tools like composer, this page will guide you in installing UserFrosting on your existing local environment. If you're don't already have a local environment set up, or you don't want to install the required software natively, you may instead want to consider setting up Homestead as a pre-configured virtual environment.
Environment
Configure your web stack
If your local development environment doesn't already have the required stack and tools, please set these up. You'll need the following:
- Web server software (Apache, Nginx, IIS, etc)
- PHP 7.2 or higher (7.4 recommended)
- PDO & GD PHP Extension
- Database (MariaDB, MySQL, Postgres, SQLite, or SQL Server)
Make certain that you have properly configured your web server (for example, Apache needs mod_rewrite enabled), PHP, and the file system permissions.
Other required software
Please make sure that you have the following installed before attempting to install UserFrosting:
Get UserFrosting
Clone the UserFrosting repository
Use git to clone the userfrosting repo into a new folder. In your development directory:
$ git clone https://github.com/userfrosting/UserFrosting.git UserFrosting
Tip
Note the UserFrosting at the end of the command. This means git will create new UserFrosting subdirectory inside the current location. You can change UserFrosting to whatever you like.
Set directory permissions
UserFrosting needs to be able to write to the following directories:
/app/cache/app/logs/app/sessions/app/storage
Set your system permissions so that the group under which your webserver runs has read and write permissions for these directories. See File System Permissions for help with this.
Install PHP dependencies
Next, we will run Composer to fetch and install the PHP packages used by UserFrosting. Before you do this though, you should check which version of PHP will be run in the command line.
Preflight check
It is very common for a single environment to have multiple different versions of PHP installed. If you've never run PHP from the command line before, you may not realize that the version of PHP run by the webserver (Apache, nginx, etc) can be different from the one that would get run in the command line.
To check the "command line" version, use the command:
$ php -v
You should then see a message like:
PHP 7.2.10 (cli) (built: Sep 13 2018 13:45:02) ( NTS )
Copyright (c) 1997-2018 The PHP Group
Zend Engine v3.2.0, Copyright (c) 1998-2018 Zend Technologies
This is the version of PHP which will be used by Composer. Make sure it meets the minimum required version for UserFrosting!
If it's a lower version than the version that you know your webserver uses, then chances are that your terminal is incorrectly resolving the php command. This happens because there is an older version of PHP (often preinstalled with your operating system) in one of the paths specified in your path variable ($PATH in *nix systems, PATH environment variable in Windows).
If you're using a distribution like XAMPP or WAMP, you'll want to update your PATH variable so that your terminal finds the same version of PHP that your webserver uses. This process depends heavily on the distribution you're using and your operating system (Google it!) However, the general steps are:
- Determine the path to the version of PHP that your webserver uses. For example, the XAMPP distribution has PHP installed in its own directory, e.g.
/Applications/XAMPP/xamppfiles/bin/. - Append that path to your
PATHvariable. In*nixsystems, this can be set in your shell config file, for example~/.bash_profile. The command should look something likeexport PATH="/path/to/newer/version/of/php:$PATH". See this answer on Superuser for information on modifyingPATHin your operating system. - Restart your terminal.
- Run the command
which phpto ensure that thephpcommand is now resolving to the correct directory. If not, double-check steps 1-3.
Tip
To check the value of your PATH variable in *nix environments, simply run echo $PATH.
Running Composer
Once you've got the right version of PHP running from your command line, it's time to run Composer from the directory where you cloned the UserFrosting repo:
$ composer install
This may take some time to complete. If Composer has completed successfully, you should see that a vendor/ directory has been created under app/. This vendor/ directory contains all of UserFrosting's PHP dependencies - there should be nearly 30 subdirectories in here!
If you only see composer and wikimedia subdirectories after running composer install, then you may need to delete the composer.lock file and run composer install again.
Set up the database
Before installing, you'll need to create a database and database user account. Consult your database documentation for more details. If you use phpmyadmin or a similar tool, you can create your database and database user through their interface. Otherwise, you can do it via the command line.
Note
"Database user account" and "UserFrosting user account" are not the same thing. The "database user account" is independent of UserFrosting. See your database technology's documentation for information on creating a database user. Make sure that your database user has all read and write permissions for your database.
Run the installer
You're almost done! We now have the base code and the php dependencies. The remaining steps are to set up the database credentials, create the first user and install the third-party assets. Luckily, at this point, Bakery is here to help! Again, in the main project directory where you cloned UserFrosting, run:
$ php bakery bake
You will first be prompted for your database credentials. This is the information PHP needs to connect to your database. If PHP can't connect to your database using these credentials, make sure you have entered the right information and re-run the bake command.
Bakery will also prompt you for SMTP credentials, so that UserFrosting can send emails for activating new accounts and setting and resetting passwords. If you are not ready to set up email at this time, you can choose No email support to skip through SMTP configuration. Please note that in production, you will need to have a working SMTP service. If you do not already have a mail provider, please see our section on mail providers for our recommendations including both free and paid third-party mail services.
If the database connection is successful, the installer will then check that the basic dependencies are met. If so, the installer will run the migrations to populate your database with new tables. During this process, you will be prompted for some information to set up the master account (first user). Finally, the installer will run the build-assets command to fetch javascript dependencies and build the assets bundles.
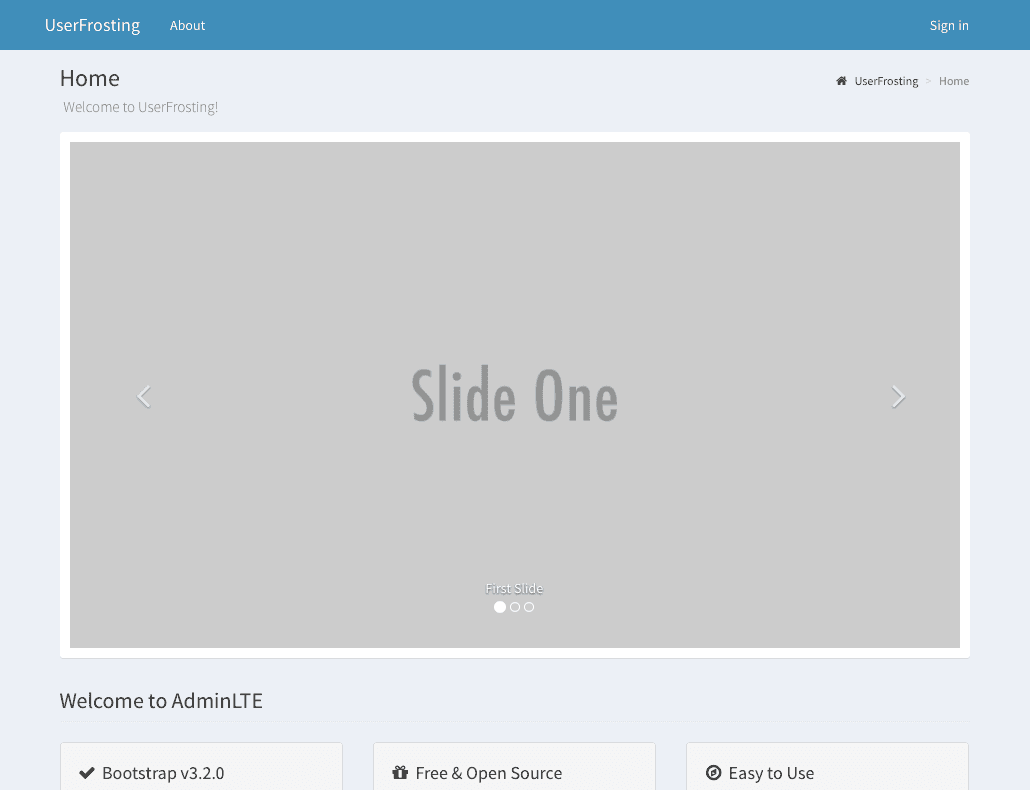
Visit your website
At this point, you should be able to access the basic pages for your application and login with the newly created master account. Visit:
http://localhost/userfrosting/public/
You should see a basic page:
Changing git remote
At this point, you should also change your remotes. Since you are starting your own project at this point, rather than working on changes that would eventually be merged into the main UserFrosting repository on GitHub, we'll give the GitHub remote a different, more meaningful name. First, use git remote -v to see the current remotes:
$ git remote -v
origin	https://github.com/userfrosting/UserFrosting.git (fetch)
origin	https://github.com/userfrosting/UserFrosting.git (push)
This basically means that origin is a shortcut for pushing and pulling to the official UserFrosting repository on GitHub. Let's change that:
$ git remote rename origin upstream
$ git remote -v
upstream	https://github.com/userfrosting/UserFrosting.git (fetch)
upstream	https://github.com/userfrosting/UserFrosting.git (push)
This renames the origin remote to upstream. Let's also disable the push part of this remote (don't worry, you won't have push rights for the official repo anyway, but this will help us stay organized):
$ git remote set-url --push upstream no-pushing
$ git remote -v
upstream	https://github.com/userfrosting/UserFrosting.git (fetch)
upstream	no-pushing (push)
Now, if we were to try and push to upstream for some reason, we'll get a useful error instead of being prompted for credentials.
For future reference (you don't have to do this right now) with the upstream remote set up, you will be able to pull any updates from the official UserFrosting repository into your project:
$ git fetch upstream
$ git checkout master
$ git merge upstream/master
See GitHub's article on syncing a fork for more information.
If you are developing as part of a team, you may wish to set up a new origin remote, for example one that points to a private repo on Bitbucket. When you are ready to deploy, you may also set up yet another deploy remote, which will allow you to push your code directly to the production server. See deployment for more information.
Star the project and follow us on Twitter
It will help us a lot if you could star the UserFrosting project on GitHub. Just look for the button in the upper right-hand corner!

You should also follow us on Twitter for real-time news and updates:
Congratulations! Now that this is complete, you're ready to start developing your application by creating your first Sprinkle.